First Project: Introducing Dorothy
A piece of jewelry or a suite of pieces begins with the selection of materials. In this case, I decided to work with 5mm round ruby cabochons and 12mm Mabé pearls. Then I sketched up an idea as you can see from the picture below.

I drafted the sketch to full dimensions and will use the drafting to create “patterns” for the major elements in these earrings. Let’s call the elements (1) the ruby studs (or studs for short); (2) the pearl stars (or stars for short), and (3) the connector (for the bar that joins to and connects the studs and the stars). Below is the drafting of the earring.

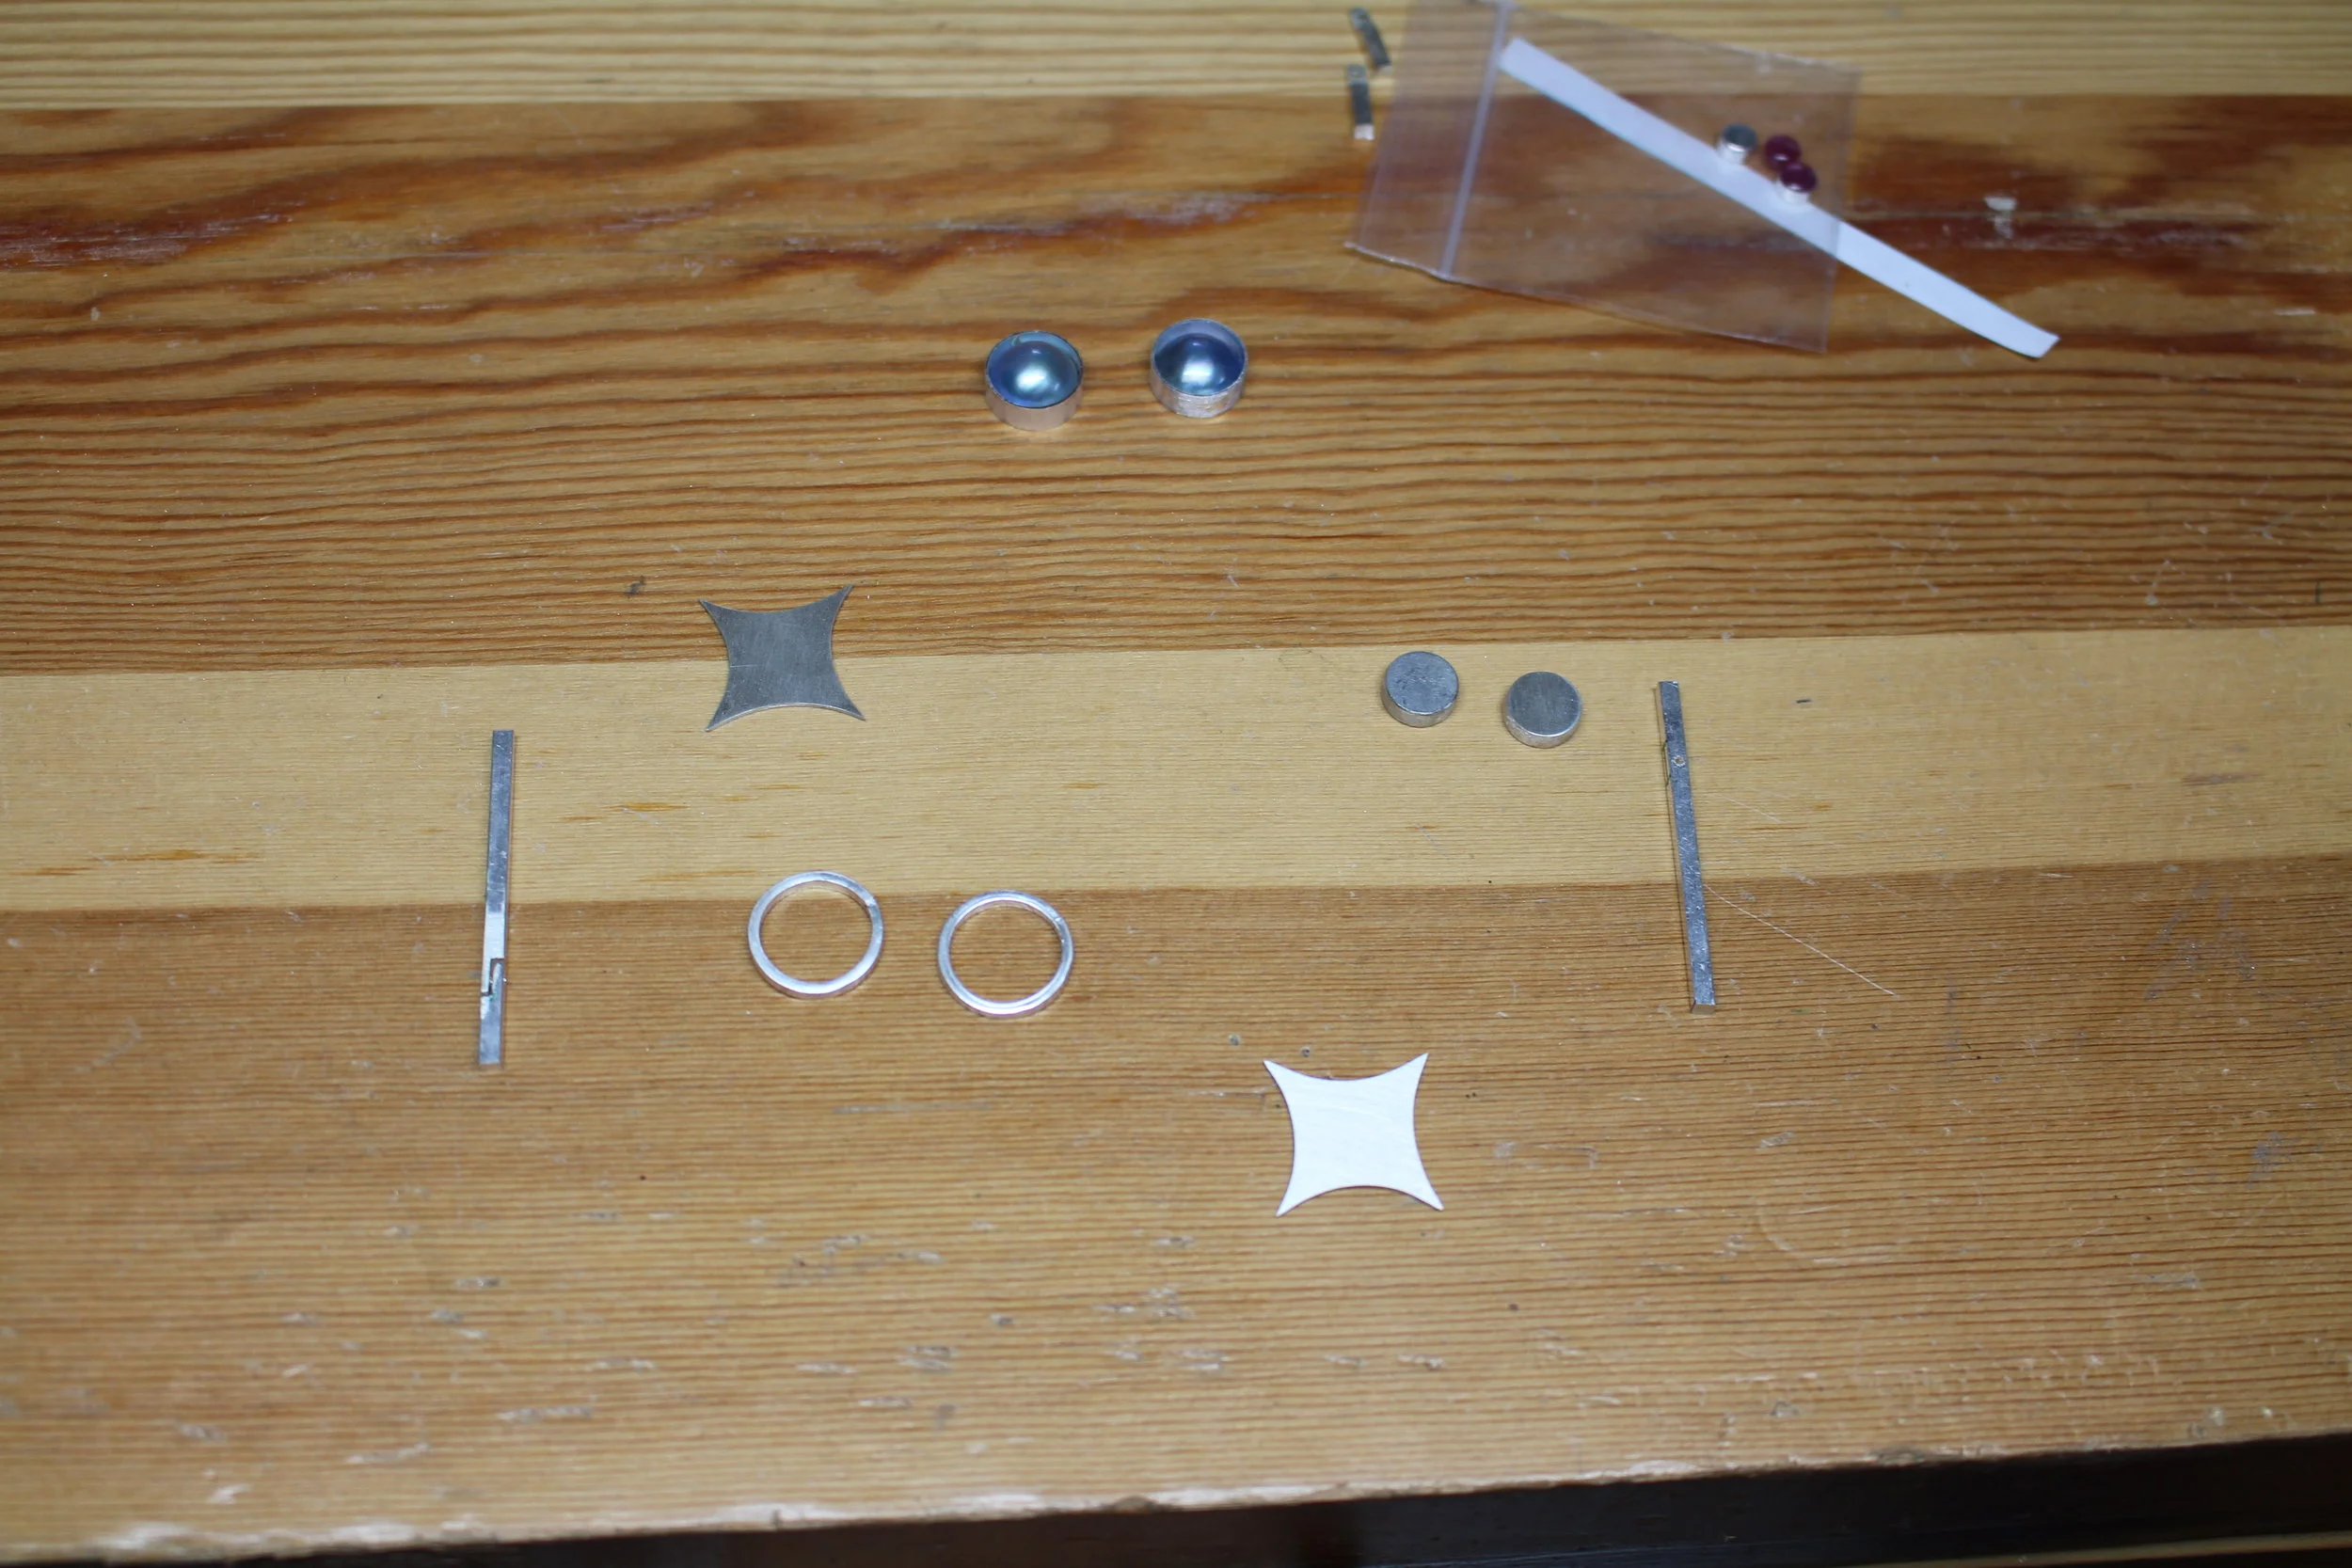
I will use commercially available 5mm fine silver bezel cups for the studs. The studs are essentially hollow forms with tops and bottoms sandwiched with a rectangular wire ring in-between. The picture below shows the individual pieces and a stud fully soldered. I’ve stamped “sterling” on one of the bottoms as you can see.

Once the stud hollow forms are completed, I make the bezels for the Mabé pearls and use the bezels to ensure the stars are large enough so the bezels will fit precisely. In the picture below, I’ve cut out the stars after having drafted them (you see paper pattern on the star which has guided me for the cut out). I will file the edges of the star smooth, hence the star that’s in the tool at the far left.

I spent a lot of time thinking about the connector and what it would look like when joined to the studs and stars. I decided that I would join the connectors to the stars via a hollow form on the back of the stars. In the picture below, you see the round rings for the hollow forms for the stars and the connectors, one of which I’ve cut out a hinge-like connection.
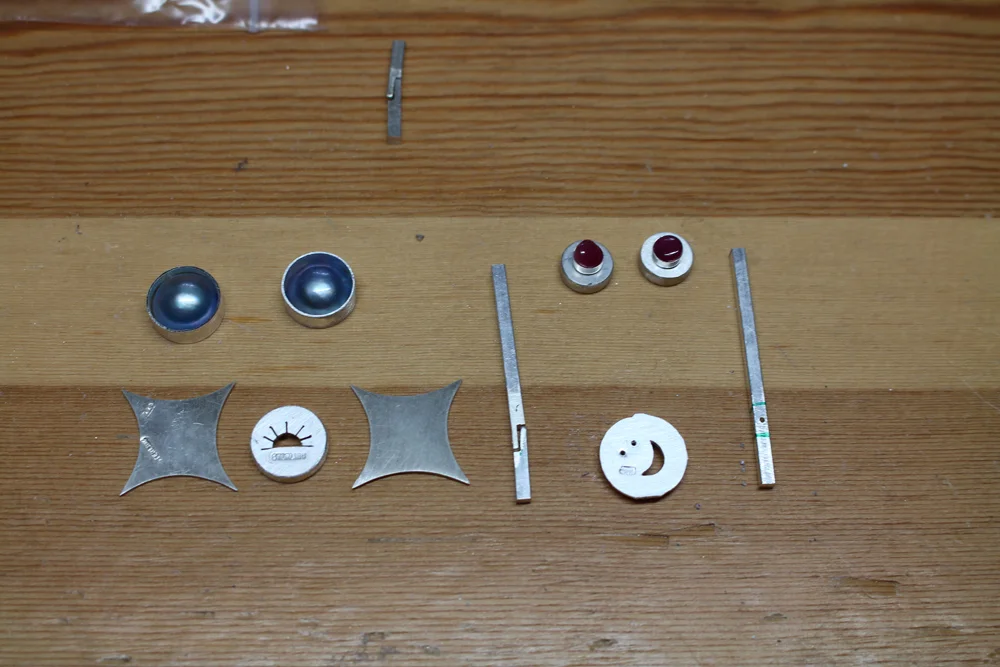
Even though the hollow form for the stars will not be visible from the front, I like to use that “real estate” (i.e., blank sheet) for whimsical purposes. In this case, I’ve cut out a setting sun for one hollow form and a rising moon and stars for the other. In the picture below, you can see the set up for soldering the covers or tops for the hollow forms for the stars.

In the picture below, you’ll see nearly all the components for the earrings. I’ve decided that both earrings will have the ruby studs on the top because the Mabé pearl stars have points that likely would not be comfortable close to the ear.
At this point, I’ve made the hinged connectors and soldered the top parts of the connectors to the studs. The studs themselves are fabricated with the bezels and posts. One of the stars has the completed hollow form under it.

At this point, I’ve soldered on the hollow forms on the back of the stars and the hinged connectors are fully soldered on to the studs and the stars. And I’m ready for sanding and initial polishing of the pieces before setting the rubies and pearls and riveting the hinge. In the picture below, you see the front of one earring and the back of the other.

While filing and sanding the studs, I thought about the stars and decided to transform the stars from flat to dimensional shapes as you can see in the picture below. This picture shows the work in progress as I use a file to fully contour the stars.

The picture below shows the earrings with the rubies and pearls set in their bezels. I’ve initially polished the components, and once I rivet the hinges, I will final polish the earrings.

The best photographer I am not, but here is Dorothy almost finished and hanging on a head display that has pierced ears. I’ve found that, after a while, the copper in sterling silver alloy will show itself as a dark shadow and will have to be sanded and polished away. It’s called firescale and is a bane for silversmiths. However, I’m ready for the next project.
