New Project: Gene

In analyzing my product offerings, I decided I needed to add some pendants. In general, I begin by selecting the materials I want to work with; in this case, a beautiful oval London blue topaz cabochon paired with a faceted prehnite briolette. I made a few sketches and eventually went with the one shown below.

From this sketch, I draft a pattern from which I can shape the design elements. In the picture below, you will see the London blue topaz in her bezel setting and the prehnite briolette as well as the draft of the pendant.

I shape round wire to fit the design elements in the pattern; for this project, I drew down wire because the exact size (thickness) of wire was not commercially available. Once I’ve shaped the wire elements, I place them on top of the pattern to see how they fit. I can draw finer than I can make by hand, but you can judge how well I’ve done in the picture below.

At this point, I will solder to the bezel the four “S” design elements, and then take stock of where I am and what I want to do. Below is a picture of the soldered bezel and “S” elements accompanied with other components I’ve shaped. I am moving the elements around to see how I want to proceed.
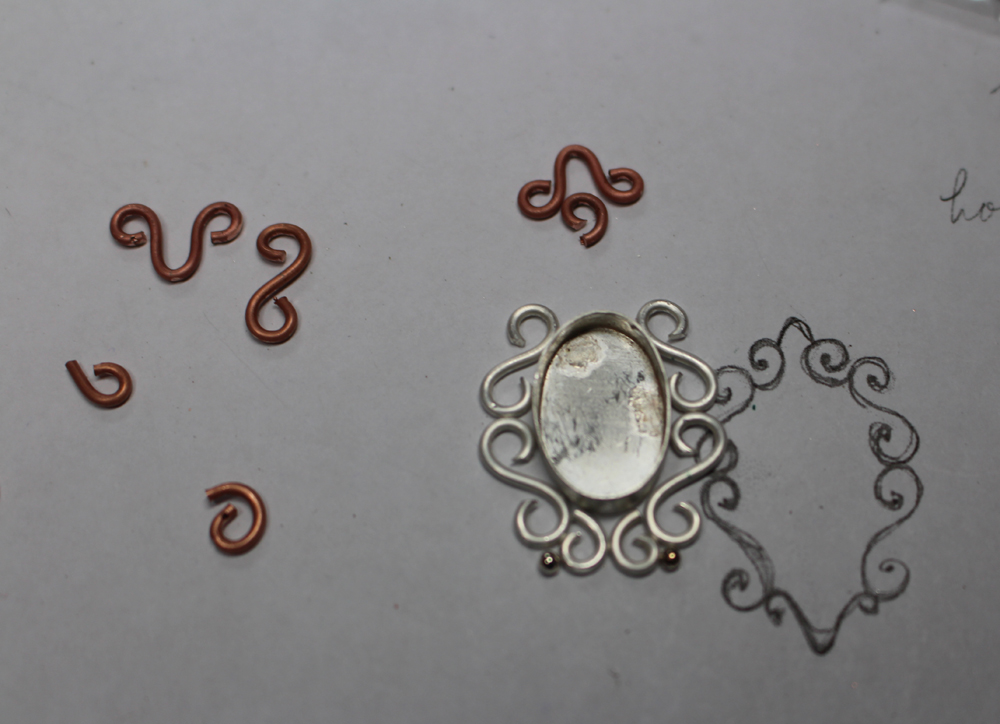
I will not have enough room to fit the curved elements from which the prehnite briolette will hang. Instead of the two curved elements shown in the picture above, I will substitute an oval ring that will fit. And I think I have just enough space to shape wire in an element that I can use to suspend the pendant from a chain. I got a bit ahead of myself; below is a picture of the pendant with all the design elements soldered on. In addition, I made the decision to make a chain for the pendant rather than purchase a commercially available one.
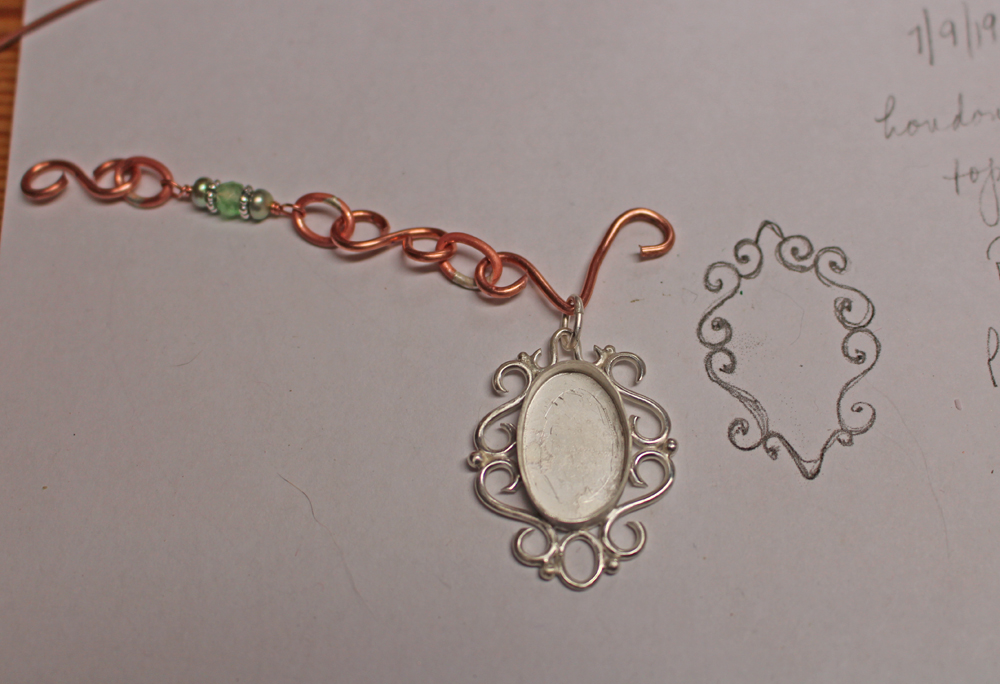
I did a sketch of the chain which is shown below. I use copper wire to make prototypes of the design elements as you can see from the picture above.
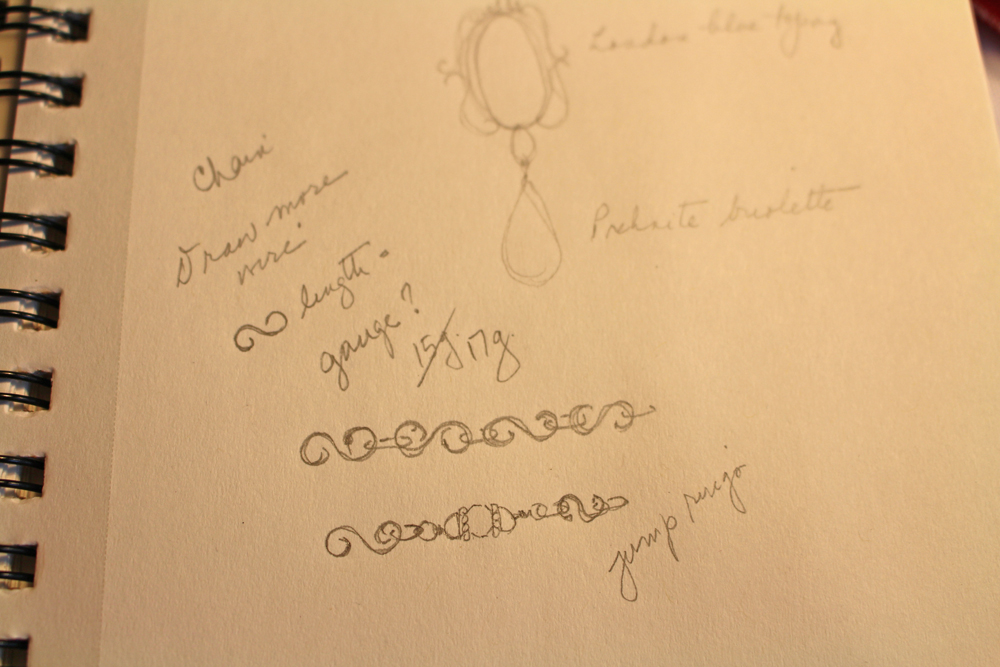
For certain work, I not only need the sketch as shown above, but I need to do some calculating so as to figure out how much material I need. In the case of Gene’s chain, I determined that a single chain motif consists of an “S” with two oval jump rings. Now I need to know how long a single motif is and then how many motifs to make. From the copper prototypes I made, I measured a motif to be 1-1/2” long. But I don’t really know yet how long I want the necklace to be. Below is a picture of the small pad I keep on my bench not only to track my time on a piece but also where I can do my figuring.

I made the decision to make 12 motifs as well as extra jump rings and a suitable “S” clasp; I’m thinking that Gene will be a short necklace, choker length, but then Gene is for sale and women’s necks are different in circumference. So I will definitely go with the adjustable closure, i.e., extra jump rings and the “S” clasp. In the picture below, you will see the chain made up. I’ve wired the motifs and included freshwater pearls and prehnite rondelles.

I am just about at the end of this piece. I’ve polished up Gene; below is a picture of the pendant alone and then a picture of the finished necklace on Manuela, my mannequin that I find very helpful.

